Salted Caramel Chocolate Cake
Salted Caramel Chocolate Cake
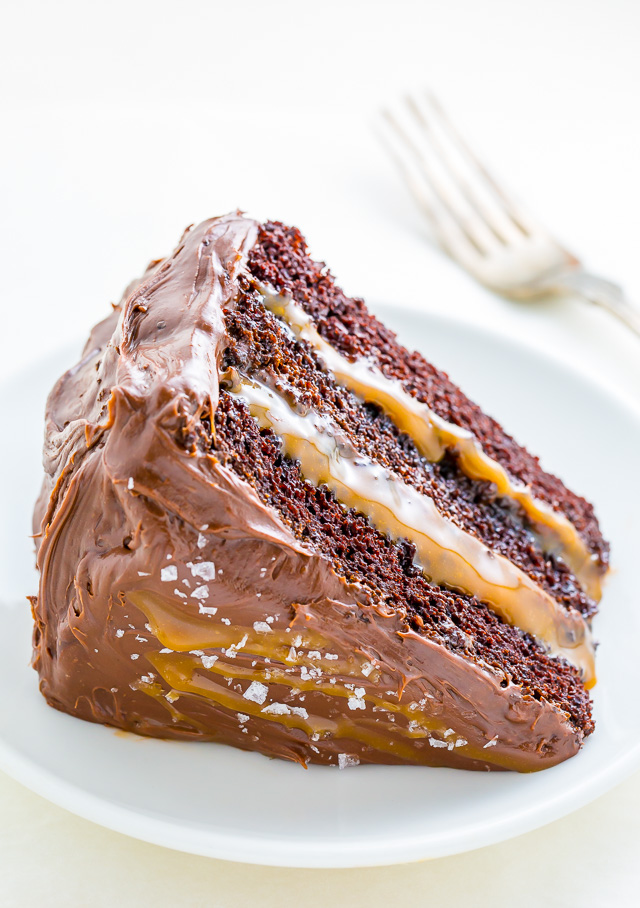
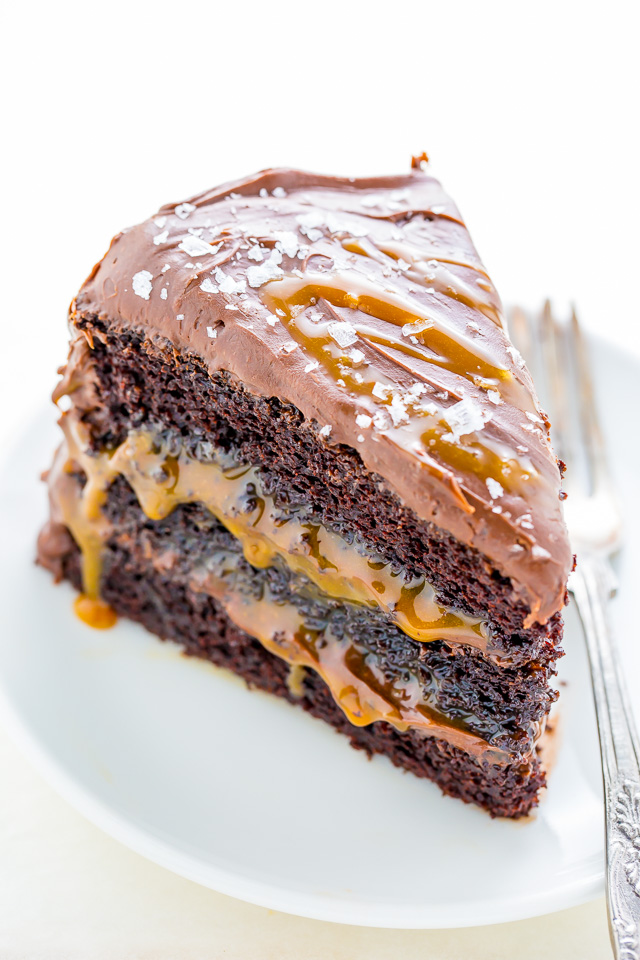
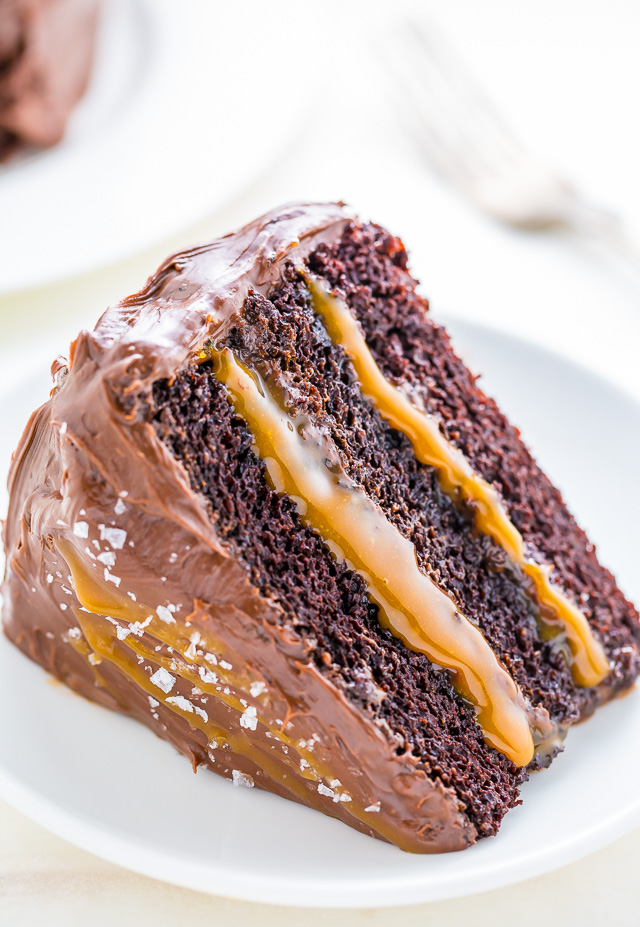
Three layers of Salted Caramel Chocolate Cake! So decadent!
Happy Friday!
Tomorrow is my birthday and I’m currently feeling ALL of the feelings. Also currently in the car, driving to the beach, eating a slice of cake and chasing it with an iced coffee.
If today is any indication of what 29 is going to be like, I think this year is going to be pretty great!
Before I embark on my birthday adventure I wanted to pop in and share a slice of cake with YOU. You have been a huge party of what has made this past year so unbelievably amazing and you’re the reason I have so much hope, joy and passion for the year to come.
But enough gushing (because I’m tearing up and don’t have waterproof mascara on right now now): let’s talk about cake!
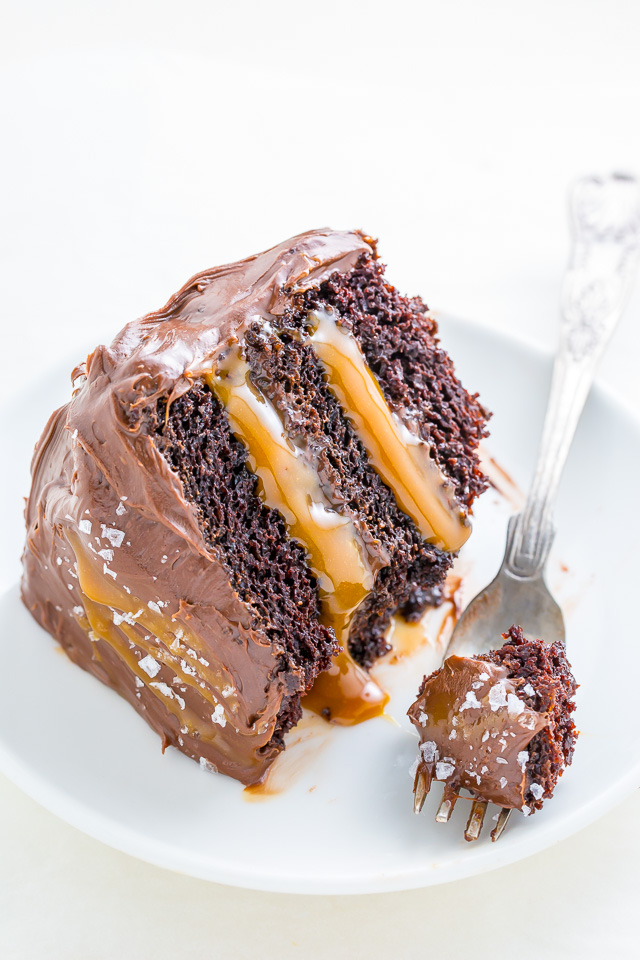
I bake myself a birthday cake every year and this year I wanted something sinfully decadent. At first I thought it would be chocolate (my favorite)… then I started dreaming of something drenched in salted caramel… finally I decided to full on treat myself and create a cake that featured BOTH.
So, without further ado, meet my 29th birthday cake: Salted Caramel Chocolate Cake.
Isn’t she just a knock out?! ↓
Tips and Tricks for Recipe Success:
- This recipe calls for vegetable oil, but you can use an equal amount of melted coconut oil in its place. I do not recommend substituting oil with butter.
- I used store bought salted caramel in this recipe to save me time, but feel free to use homemade if you’d like! I suggest using a salted caramel sauce with a thicker consistency. You can click here to check out the exact caramel sauce I used. You might also want to check out my recipe for 6-minute salted caramel sauce.
- For best results, make sure your eggs, egg yolks, sour cream, and milk have all come to room temperature before you begin baking.
- When you measure your flour, be sure you’re not packing it into the measuring cup. Packed flour will yield a dense and dry cake.
- The cake layers should all be baked on the middle rack of your oven. If there’s not enough room in your oven to bake them all in an even row at once, simply bake them in two batches.
- For the frosting, you’ll want to make sure your butter is VERY soft before creaming it.
- The cakes should be completely cool before adding the frosting and salted caramel.
- The assembly is a two part process: you’ll place one cake level on a large plate, top it with a thin layer of frosting, then add the caramel, then add another cake level and repeat. Once you’ve added the final cake level you’ll want to leave the top bare and place the cake in the fridge to set for one hour. Once it’s set, you can finish frosting.
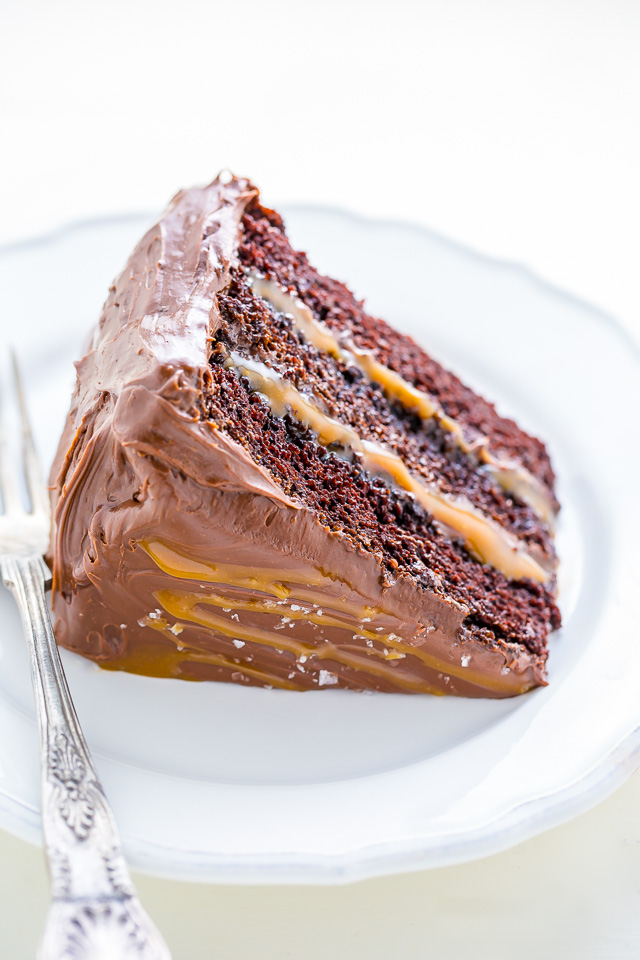
Alright guys, time for me to wipe the crumbs of my party dress and start celebrating! There’s a mimosa and long nap on the beach in my very near future…
Can everyday be my birthday?!
Have a great weekend and see you next week!
If you try this recipe, let me know what you think! Leave a comment below, and don’t forget to snap a pic and tag it #bakerbynature on instagram! Seeing your creations makes my day.
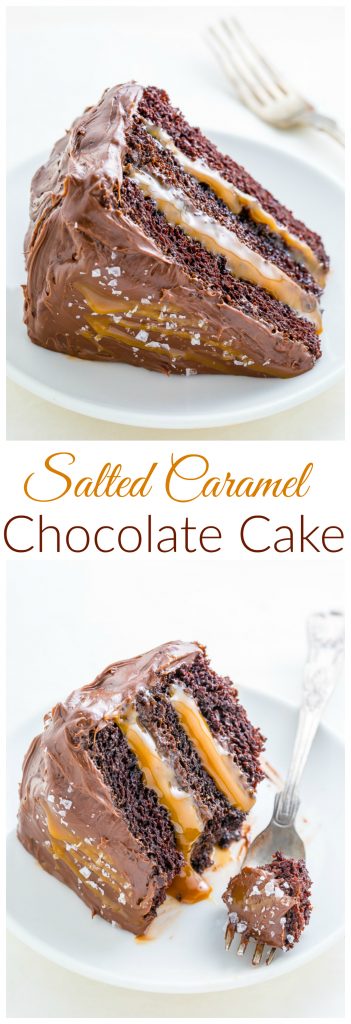
Salted Caramel Chocolate Cake
prep 1 hour, 1 min
cook 30 mins
total 1 hour, 31 mins
author bakerbynature
Three layers of Salted Caramel Chocolate Cake slathered in homemade Chocolate Frosting. So decadent!
Ingredients
For the chocolate cake:
- 2 cups granulated sugar
- 1 cup light brown sugar, packed
- 2 and 3/4 cups all-purpose flour (not packed!)
- 1 and 1/2 cups unsweetened cocoa powder, sifted
- 3 teaspoons baking soda
- 1 and 1/2 teaspoons baking powder
- 1 and 1/4 teaspoons salt
- 3 large eggs + 2 large egg yolks, at room temperature
- 1 and 1/2 cups full-fat sour cream
- 1/3 cup whole milk
- 3/4 cup vegetable oil (you may also sub in melted coconut oil)
- 2 tablespoons vanilla extract
- 1 and 1/2 cups hot water
For the salted caramel chocolate frosting:
- 2 cups unsalted butter (4 sticks, 16 ounces), VERY soft
- 4 and 1/2 cups confectioners' sugar, sifted
- 3/4 cup unsweetened cocoa powder, sifted
- 1 teaspoon vanilla extract
- 1/2 teaspoon salt
- 3 tablespoons heavy cream (more if needed)
- 2 tablespoons salted caramel sauce
Garnish:
- 1 and 1/4 cups salted caramel sauce (please see post for more on this)
- Flaky sea salt
Instructions
For the chocolate cake:
- Preheat oven to 350°(F). Cut out three 9-inch round segments of parchment paper to line your cake pans with. Spray each pan generously - sides and bottom - with nonstick cooking spray, then place the parchment paper cut out in the bottom of the pans and spray again. It's important to make sure every bit of pan and paper are sprayed so your cakes don't get stuck. Set pans aside.
- In the bowl of a stand mixer fitted with the paddle attachment, or in a large bowl using a handheld electric mixer, combine both sugars, flour, cocoa powder, baking soda, baking powder and salt; mix on low until dry ingredients are thoroughly combined. Use your hands to break up any large clumps, if needed. In a separate bowl combine the eggs, egg yolks, sour cream, milk, oil and vanilla extract; mix until completely combined. Pour mixture into the dry ingredients and beat on low until just incorporated. Pour in hot water and continue mixing until completely combined; about 1 minute. The batter will quite thin.
- Divide batter evenly among prepared pans. Bake in preheated oven for 30 minutes, or until a wooden toothpick or cake tester inserted in the center of a cake comes out clean or with just a few moist crumbs attached. Cool cakes for 10 minutes in the pan before removing from pans and transferring to a cooling rack; cool cakes completely before frosting.
For the chocolate frosting:
- In a stand mixer fitted with the paddle attachment, cream the softened butter on medium-speed until completely smooth; about 3 minutes. Turn the mixer off and sift the powdered sugar and cocoa into the mixing bowl. Turn the mixer on the lowest speed and mix until the sugar/cocoa have been absorbed by the butter; about 2 minutes. Increase mixer speed to medium; add in vanilla extract, salt, heavy cream and salted caramel; beat for 3 minutes. If your frosting appears a little too thin, add a little more confectioners' sugar; If your frosting needs to be thinner, add additional heavy cream, 1 tablespoon at a time.
Assembly:
- Using a serrated knife, carefully trim the raised top of each cake, making each one an even, level surface. Transfer 1 layer to a large plate or cake stand. Spread a thin layer of frosting on top, then add a 1/2 cup of caramel; top with another cake layer, and repeat, thinly spread it with a layer of frosting, then adding a 1/2 cup of caramel. Top final cake layer and place cake in the fridge to set for 1 hour. Once set, finishing frosting the top and sides of the cake. Sprinkle with sea salt. Slice and serve, or keep refrigerated for up to 5 days.
Notes
Cake may be baked up to 5 days in advance and stored in the fridge. Unfrosted cakes may be wrapped and frozen for up to 2 months. For best results, follow the recipe as written.
Nutrition Facts
Serving Size 1 slice
Amount Per Serving | ||
|---|---|---|
% Daily Value |
* Percent Daily Values are based on a 2,000 calorie diet. Your daily values may be higher or lower depending on your calorie needs.
more recipes @ https://bakerbynature.com
BERITA LENGKAP DI HALAMAN BERIKUTNYA
Halaman Berikutnya