CHOCOLATE COVERED CAKE BITES
Grab a box of cake mix and some frosting to make these yummy chocolate covered cake bites – a perfect treat for Valentine’s Day!
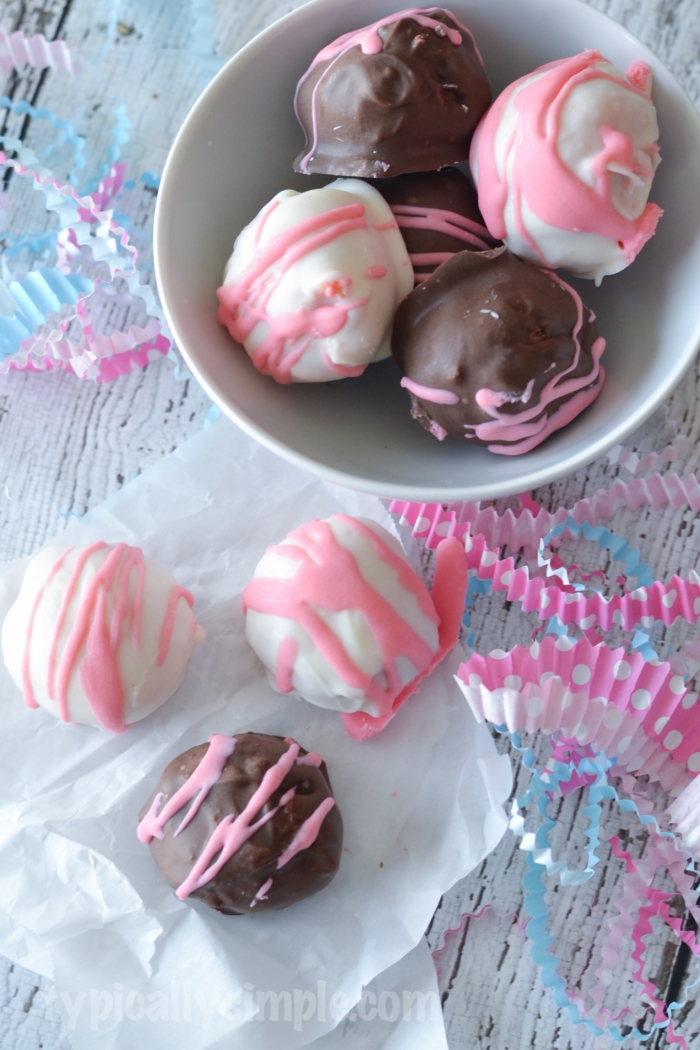
You might hear me saying this about all types of desserts and treats…but I seriously love cake bites. It wasn’t until I was well into my “grown-up years” that I first had a cake bite and after that first bite, I knew I had to learn how to make them myself!
The first few times I made them, I didn’t know I could have so many feelings of hatred towards melted chocolate. I would make such a mess, dripping everywhere, cake bites that were half covered in chocolate and became more like cake mush.
But with practice…because you know practice is good, especially when it means eating cake bites at the end of it all…I started figuring out this whole making cake bites business. One thing I found to work really well is using candy melts or almond bark instead of chocolate chips. Definitely less of a drippy mess!
So after I got done making a surprise cake, which needs two cakes, but doesn’t use up all of the second one, I decided I’d make some cake bites with the leftovers!
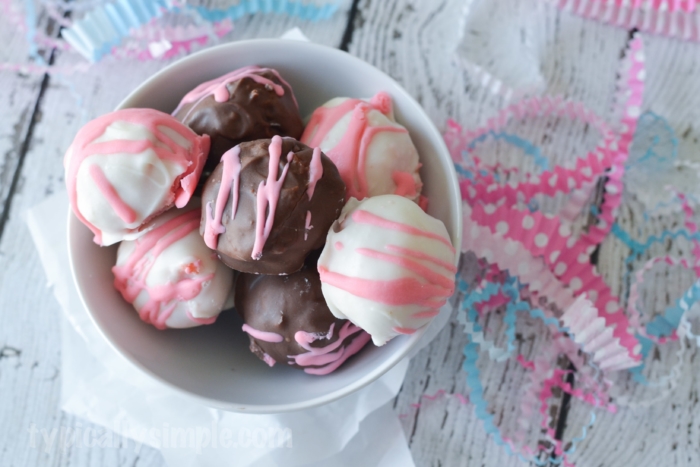
And since the cake was already pink, I decided to run with the whole Valentine’s Day theme on these yummy chocolate covered cake bites.
Kitchen Supplies
Mixing Bowls
Electric Mixer
Baking Pan
Cookie Sheet
Wax Paper
Spatula or Spoon
Ingredients
1 box of cake mix
plus any additional ingredients based on directions
1 container of frosting
candy melts or almond bark
food coloring (optional)

Directions
Make the cake according to the directions on the box. If you would like the cake part of the bites to be a certain color, add some food coloring to the batter and mix well before pouring it into a baking pan.
After the cake has baked and has cooled completely, crumble it into small pieces into a large mixing bowl. You can also use a fork to break up larger pieces.
Add about 3/4 of the frosting, mixing throughly with a spoon or spatula.
Place cake mix in the fridge for about 20 minutes so it is easier to form into balls.
Form cake mix into golf ball sized bites and place on a cookie sheet lined with wax paper. When finished, place the bites in the freezer for about and hour or so until firm.
To make the chocolate coating, melt the almond bark or candy melts according to the package in a microwave safe bowl. Drop one cake bite into the bowl and use a spoon to coat it completely. Place back onto wax paper for chocolate to harden.
If you would like to add some drizzles of color to the cake bites, just warm up some frosting in the microwave for about 20-30 seconds. It will become liquid-like and you can use a spoon to drizzle it over the cake bites.
Store in an airtight container in the fridge and enjoy!

CHOCOLATE COVERED CAKE BITES

INGREDIENTS
1 box of cake mix;
plus any additional ingredients based on directions
1 container of frosting
candy melts or almond bark
food coloring (optional)
INSTRUCTIONS
Make the cake according to the directions on the box. If you would like the cake part of the bites to be a certain color, add some food coloring to the batter and mix well before pouring it into a baking pan.
After the cake has baked and has cooled completely, crumble it into small pieces into a large mixing bowl. You can also use a fork to break up larger pieces.
Add about 3/4 of the frosting, mixing throughly with a spoon or spatula.
Place cake mix in the fridge for about 20 minutes so it is easier to form into balls.
Form cake mix into golf ball sized bites and place on a cookie sheet lined with wax paper. Place the bites in the freezer for about and hour or so until firm.
To make the chocolate coating, melt the almond bark or candy melts according to the package in a microwave safe bowl. Drop one cake bite into the bowl and use a spoon to coat it completely. Place back onto wax paper for chocolate to harden.
If you would like to add some drizzles of color to the cake bites, just warm up some frosting in the microwave for about 20-30 seconds. It will become liquid-like and you can use a spoon to drizzle it over the cake bites.
Store in an airtight container in the fridge and enjoy!

You might hear me saying this about all types of desserts and treats…but I seriously love cake bites. It wasn’t until I was well into my “grown-up years” that I first had a cake bite and after that first bite, I knew I had to learn how to make them myself!
The first few times I made them, I didn’t know I could have so many feelings of hatred towards melted chocolate. I would make such a mess, dripping everywhere, cake bites that were half covered in chocolate and became more like cake mush.
But with practice…because you know practice is good, especially when it means eating cake bites at the end of it all…I started figuring out this whole making cake bites business. One thing I found to work really well is using candy melts or almond bark instead of chocolate chips. Definitely less of a drippy mess!
So after I got done making a surprise cake, which needs two cakes, but doesn’t use up all of the second one, I decided I’d make some cake bites with the leftovers!

And since the cake was already pink, I decided to run with the whole Valentine’s Day theme on these yummy chocolate covered cake bites.
Kitchen Supplies
Mixing Bowls
Electric Mixer
Baking Pan
Cookie Sheet
Wax Paper
Spatula or Spoon
Ingredients
1 box of cake mix
plus any additional ingredients based on directions
1 container of frosting
candy melts or almond bark
food coloring (optional)

Directions
Make the cake according to the directions on the box. If you would like the cake part of the bites to be a certain color, add some food coloring to the batter and mix well before pouring it into a baking pan.
After the cake has baked and has cooled completely, crumble it into small pieces into a large mixing bowl. You can also use a fork to break up larger pieces.
Add about 3/4 of the frosting, mixing throughly with a spoon or spatula.
Place cake mix in the fridge for about 20 minutes so it is easier to form into balls.
Form cake mix into golf ball sized bites and place on a cookie sheet lined with wax paper. When finished, place the bites in the freezer for about and hour or so until firm.
To make the chocolate coating, melt the almond bark or candy melts according to the package in a microwave safe bowl. Drop one cake bite into the bowl and use a spoon to coat it completely. Place back onto wax paper for chocolate to harden.
If you would like to add some drizzles of color to the cake bites, just warm up some frosting in the microwave for about 20-30 seconds. It will become liquid-like and you can use a spoon to drizzle it over the cake bites.
Store in an airtight container in the fridge and enjoy!

CHOCOLATE COVERED CAKE BITES

INGREDIENTS
1 box of cake mix;
plus any additional ingredients based on directions
1 container of frosting
candy melts or almond bark
food coloring (optional)
INSTRUCTIONS
Make the cake according to the directions on the box. If you would like the cake part of the bites to be a certain color, add some food coloring to the batter and mix well before pouring it into a baking pan.
After the cake has baked and has cooled completely, crumble it into small pieces into a large mixing bowl. You can also use a fork to break up larger pieces.
Add about 3/4 of the frosting, mixing throughly with a spoon or spatula.
Place cake mix in the fridge for about 20 minutes so it is easier to form into balls.
Form cake mix into golf ball sized bites and place on a cookie sheet lined with wax paper. Place the bites in the freezer for about and hour or so until firm.
To make the chocolate coating, melt the almond bark or candy melts according to the package in a microwave safe bowl. Drop one cake bite into the bowl and use a spoon to coat it completely. Place back onto wax paper for chocolate to harden.
If you would like to add some drizzles of color to the cake bites, just warm up some frosting in the microwave for about 20-30 seconds. It will become liquid-like and you can use a spoon to drizzle it over the cake bites.
Store in an airtight container in the fridge and enjoy!
BERITA LENGKAP DI HALAMAN BERIKUTNYA
Halaman Berikutnya